Zephyr ZGE-E36AS User Manual
Browse online or download User Manual for Cooker hoods Zephyr ZGE-E36AS. Essentials Genova ZGE-E36AS Installation guide
- Page / 49
- Table of contents
- TROUBLESHOOTING
- BOOKMARKS
- ZGE-E30AS 1
- ZGE-E36AS 1
- ZGE-E30AS290 1
- ZGE-E36AS290 1
- Table of Contents 3
- Important Safety Notice 4
- List of Materials 6
- Subtotal column 1 = 7
- Subtotal column 2 = 7
- Total ductwork = 7
- WARNING FIRE HAZARD 9
- Charcoal Filter Replacement 15
- Blower On/Off 16
- Speed Selection 16
- REMOTE CONTROL MAINTENANCE: 18
- SURFACE MAINTENANCE: 19
- Maintenance – Lights 20
- Maintenance – Wiring Diagram 21
- Troubleshooting 22
- List of Parts and Accessories 23
- STAPLE YOUR RECEIPT HERE 24
- Table des matières 27
- Mise en garde de sécurité 28
- Liste du matériel 30
- Sous-total - colonne 1= 31
- Sous-total - colonne 2 = 31
- Sous-total - colonne 1 = 31
- Total du conduit = 31
- 24” min 32
- 32” max 32
- ENTRETIEN DES SURFACES 44
- Entretien – Lumières 45
- DÉPANNAGE 47
- DESCRIPTION N 48
- DE PIÈCE 48
- AGRAFEZ VOTRE REÇU ICI 49
Summary of Contents
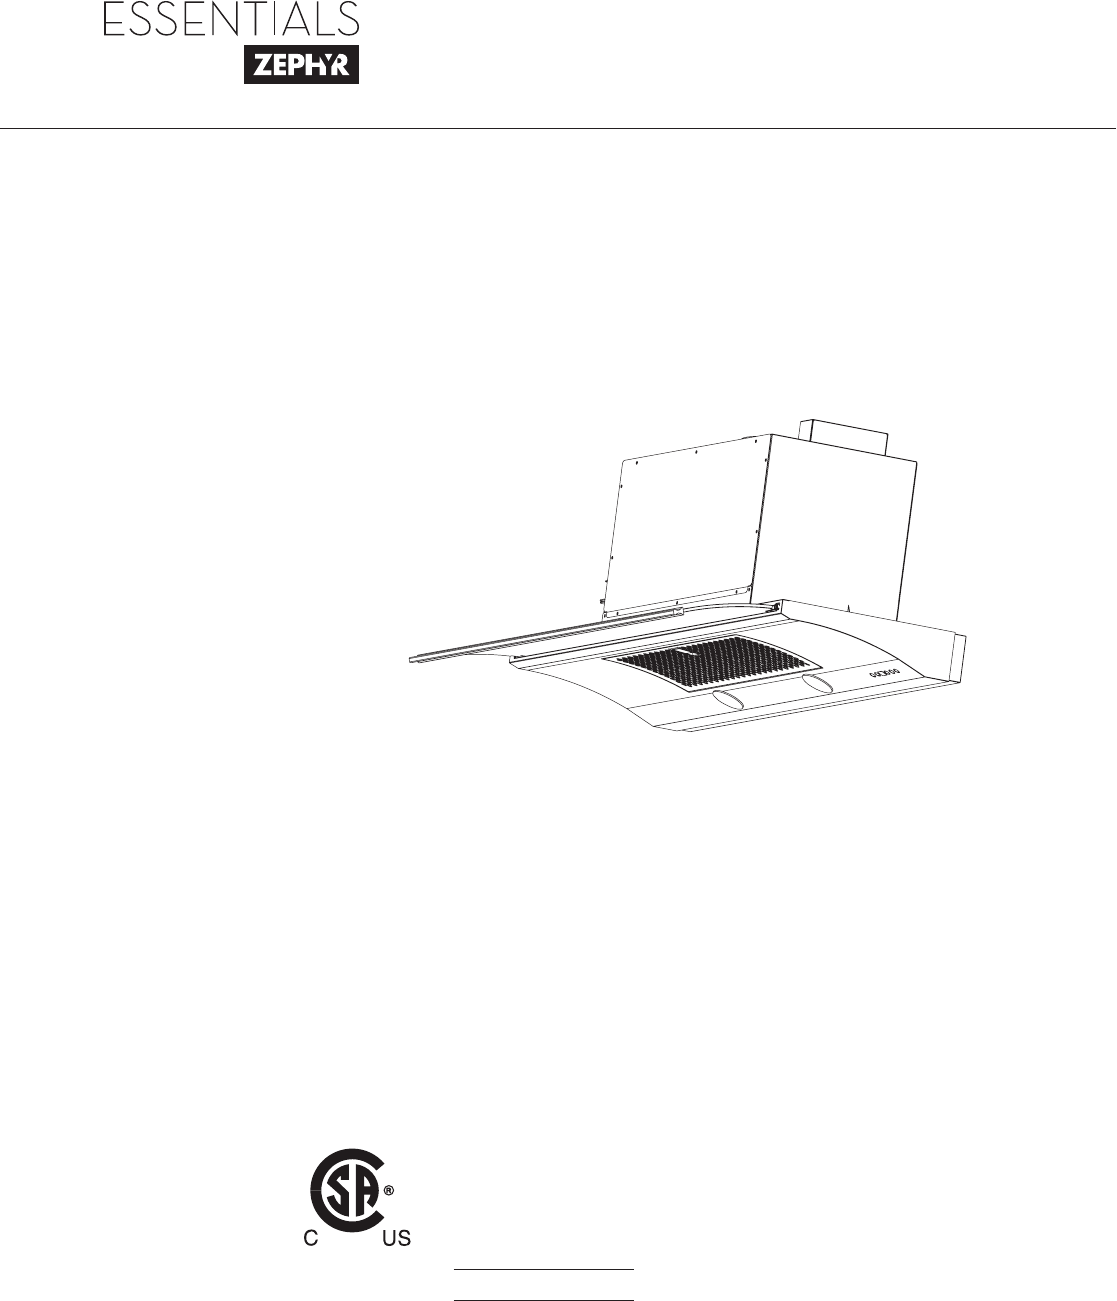
Use, Care, and Installation Guidewww.zephyronline.comModel number: Serial Number: APR14.0401 © Zephyr CorporationGenovaZGE-E30ASZGE-E36ASZGE-E30AS290Z
8www.zephyronline.comInstallation – +RRG6SHFL¿FDWLRQVfront of hoodside of hoodtop of hood500mm191116"76mm3"280mm11"912mm3578"760m
97 3/4”7”9-7/8”19-7/8”C/L1-9/16”Installation – Preparing the CabinetFig.1front edgeglass handleFig.21. Determine and mark center line on wall and cab
10www.zephyronline.comInstallation – Installing the Hood WARNING: Electrical wiring must be done by a qualified person(s) inaccordance with all applic
Installation – Installing the Hood116) Place lower installation brackets under upper installation brackets located on left and right sides of hood
Installation – Installing the Hood12www.zephyronline.comA10) Place 6” round ducting over blower collar and secure with aluminum duct tape. If us
13Ductless recirculation is intended for applications where an exhaust duct work is not possible to be installed. When converted, the hood functions a
14www.zephyronline.comBlower On/OffBy pressing , the blower is switched On and Off. When switched On, the blower will operate at the last setting
15Decorative Mesh Filter Clean Reminder (metal mesh filter)Whether your hood is installed as an exhaust or purifying unit, a decorative mesh filter is
16www.zephyronline.comFeatures & Controls – Remote Control (Optional)FCC Caution:7RDVVXUHFRQWLQXHGFRPSOLDQFHDQ\FKDQJHVRUPRGL¿FDWLRQVQRW
17SURFACE MAINTENANCE:Periodically clean with hot soapy water and clean cotton cloth. Do not use corrosive or abrasive detergentsteel wool or scouring
www.zephyronline.com
18www.zephyronline.comREPLACING LIGHT BULBSCAUTION: Light bulb becomes extremely hot when turned on.DO NOT touch bulb until switched off and cooled. T
19Maintenance – Wiring Diagram370W270W3.5A3.5A
Troubleshooting20www.zephyronline.comTROUBLESHOOTING PROCEDURES FOR GENOVAIssue Cause What to doAfter installation, the unit doesn’t work.1. The powe
21DESCRIPTION PART#Replacement PartsLight Bulb GU10 50W (each) Z0B0020 Decorative Mesh Filter 50200036Optional AccessoriesRecirculating Kit ZRC-0
1-888-880-8368STAPLE YOUR RECEIPT HERETO OBTAIN SERVICE UNDER WARRANTY OR FOR ANY SERVICE RELATED QUESTIONS, please call: Zephyr Corporation (refe
Guide d’utilisation, d’entretien et d’installationwww.zephyronline.comNuméro de modèle : Numéro de série :APR14.0401 © Zephyr CorporationGenovaZGE-E30
www.zephyronline.com
1MISE EN GARDE DE SÉCURITÉ ... 2-3LISTE DU MATÉRIEL ... 4INSTALLATIONFeuill
Mise en garde de sécurité LISEZ ET CONSERVEZ CES INSTRUCTIONS2www.zephyronline.comAVERTISSEMENTPOUR RÉDUIRE LES RISQUES D’INCENDIE OU DE DÉCHARGE ÉLEC
Mise en garde de sécurité3ATTENTIONPOUR RÉDUIRE LES RISQUES D’INCENDIE, N’UTILISEZ QUE DES CONDUITS D’AÉRATION EN MÉTAL.ATTENTIONPour réduire les risq
1SAFETY NOTICE ... 2-3LIST OF MATERIALS ...
Liste du matériel4www.zephyronline.com(2) M4 x 1”
5Pièces de conduitTot alLongueur x Nombre utilisé 3-1/ 4” x 10”rect., droit1 pi x ( ) =pi7” circ., droit1 pi x ( ) =pi3-1/
Installation – Espace libre et hauteur de montage6www.zephyronline.comCONDUIT D’AÉRATIONUn conduit circulaire de 6” doit être utilisé pour assurer un
7AVERTISSEMENT DE RISQUE D’INCENDIEN’évacuez ou ne terminez JAMAIS l’échappement du conduit dans les espaces entre les murs, les vides sanitaires, le
8www.zephyronline.comInstallation – 6SpFL¿FDWLRQVGHODKRWWHLC
97 3/4”7”9-7/8”19-7/8”C/L1-9/16”INSTALLATION – Préparation de l’armoire1. Calculez et marquez la ligne centrale sur le mur et sur le bas de l’armoire
Installation – Installation de la hotte10www.zephyronline.com1) Préparez le câblage électrique et le conduit dans l’armoire. Les emplacements de la bo
Installation – Installation de la hotte116) Placez les supports d’installation inférieurs sous les supports d’installation supérieurs situés sur les c
Installation – Installation de la hotte12www.zephyronline.comA10) Placez le conduit circulaire de 6” par-dessus le collier GXYHQWLODWHXUHW¿[H]OHW
13/DFRQ¿JXUDWLRQGHUHSULVHVDQVFRQGXLWDpWpFRQoXHSRXUOHVDSSOLFDWLRQVRLOHVWLPSRVVLEOHG¶LQVWDOOHUXQFRQGXLWd’aération. Lorsque transform
Important Safety NoticeREAD AND SAVE THESE INSTRUCTIONS2www.zephyronline.comWARNING TO REDUCE THE RISK OF FIRE OR ELECTRIC SHOCK, DO NOT USE THIS FAN
14www.zephyronline.comCommandes - &RPPDQGHVjHIÀHXUHPHQW
15Commandes – ,QGLFDWHXUGHFKDQJHPHQWGHV¿OWUHVjFKDUERQ
16www.zephyronline.comCOMMANDES – ,QGLFDWHXUGHQHWWR\DJHGHV¿OWUHVjWDPLVPpWDOOLTXHV
17Commandes – Commande à distance radioélectriqueMise en garde de la Commission fédérale des communications: Dans le but d’assurer une conformité FRQW
18www.zephyronline.comENTRETIEN DES SURFACESNettoyez régulièrement les surfaces de la hotte avec de l’eau savonneuse chaude et un chiffon de coton pro
19Remplacement des ampoulesAttention : Les ampoules deviennent extrêmement chaudes lorsqu’allumées.Veuillez NE PAS les toucher avant de les avoir étei
20www.zephyronline.com3.5A3.5AEntretien – Schéma de câblage
21DÉPANNAGEPROCÉDURES DE DÉPANNAGE POUR LA HOTTE GENOVAProblème Cause SolutionAprèsl’installation,l’appareil ne fonctionne pas.1. Le bloc d’alimentat
Listes des pièces et des accessoires22www.zephyronline.comDESCRIPTION NO DE PIÈCEPièces de remplacementAmpoule GU10 50W (chaque) Z0B-0020S Filt
AGRAFEZ VOTRE REÇU ICIPOUR OBTENIR DU SERVICE SOUS GARANTIE OU POUR TOUTE QUESTION LIÉE À L’ENTRETIEN, veuillez communiquer avec nous au 1-888-880-836
Important Safety Notice3WARNINGTO REDUCE THE RISK OF FIRE, USE ONLY METAL DUCTWORK.CAUTION7RUHGXFHULVNRI¿UHDQGWRSURSHUO\H[KDXVWDLURXWVLGH
List of Materials4www.zephyronline.com(3) Wire Nuts(1) Suction Cup(1) 6” round damper (pre-installed)(1) hood body with sliding glass(2) upper install
5Duct pieces To t a lEquivalent numberlength x used =3- 1/ 4” x 10”Rect.,straight1 Ft. x ( ) =Ft. 8” Round,straight1 Ft.
Installation – Installing the Hood6www.zephyronline.comDUCTINGA minimum of 6” round ducting must be used to PDLQWDLQPD[LPXPDLUÀRZHI¿FLHQF\Always
7WARNING FIRE HAZARDNEVER exhaust air or terminate duct work into spaces between walls, crawl spaces, ceiling, attics or garages.All exhaust must be d
More documents for Cooker hoods Zephyr ZGE-E36AS

Related products and manuals for Cooker hoods Zephyr ZGE-E36AS
 (15 pages)


 (52 pages)
(16 pages)
(26 pages)
(15 pages)
(15 pages)
(52 pages)
(16 pages)
(26 pages)
(15 pages)
(15 pages)
© 2020, manymanuals.com. All rights reserved. | 1.945 s |
 Manymanuals.com
 Manymanuals.de
 Manymanuals.fr
 Manymanuals.it
 Manymanuals.pl
 Manymanuals.cz
 Manymanuals.es
 Manymanuals-pt.com
Comments to this Manuals